
In May my family moved into our new space and I definitely needed my own work space. The pieces I needed for my new desk fell into my lap thus my desk became my first project in our new home.
Both the move and coming back to blogging really inspired each other. The blog gives me a way to document all the great things I want to do with our home and all the ideas I have are great DIY projects. Needless to say I got really excited when I started getting ready to do my desk.
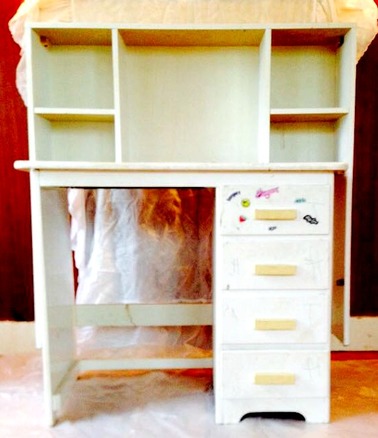
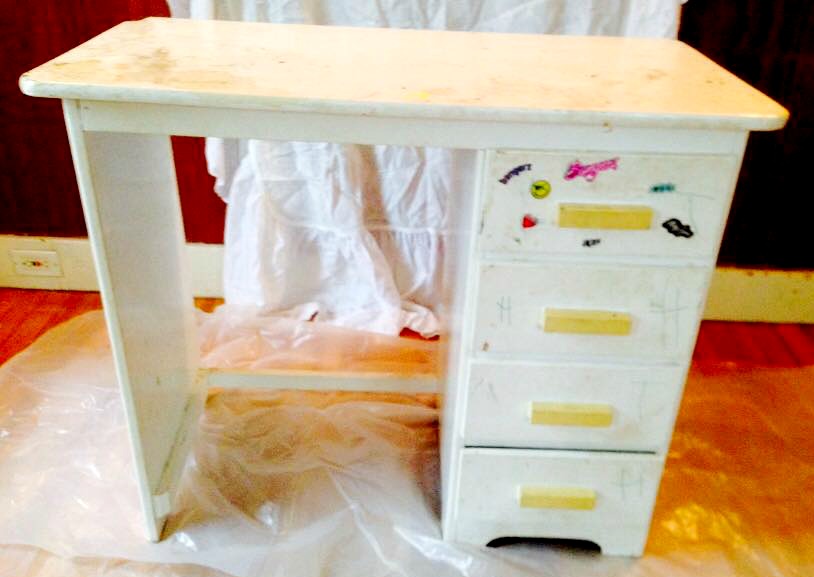
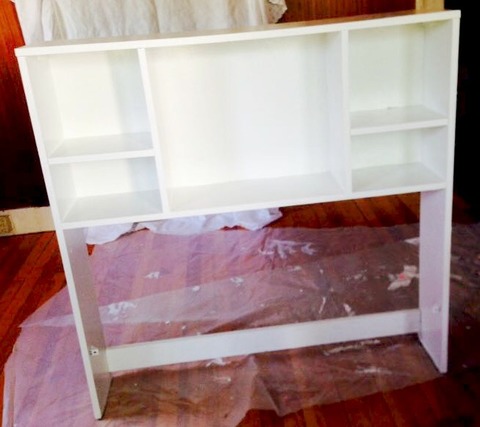
The desk consists of 2 pieces. An old wooden desk terribly covered in stickers from my younger sisters, written on with marker and badly worn. The second is actually an old head board for a twin sized bed but it was in alright condition despite both pieces sitting in storage.
The desk consists of 2 pieces. An old wooden desk terribly covered in stickers from my younger sisters, written on with marker and badly worn. The second is actually an old head board for a twin sized bed but it was in alright condition despite both pieces sitting in storage.
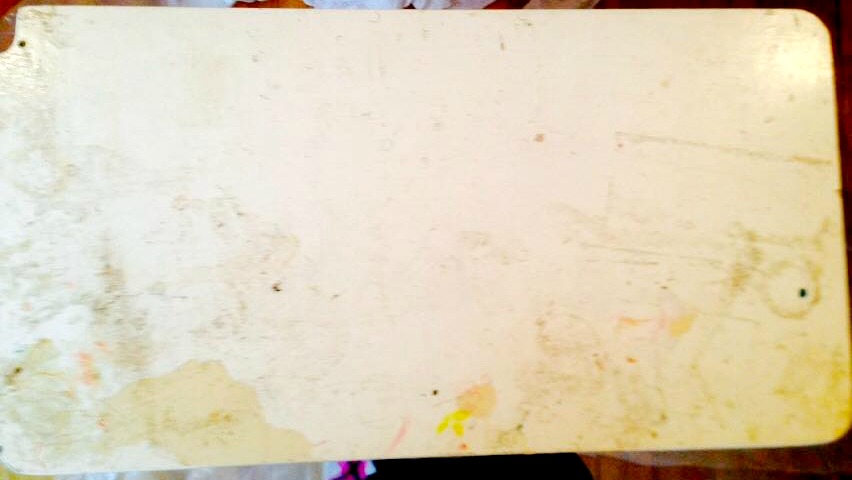
The first thing I did was completely wash both pieces down and then take off the old paint. Underneath I actually found old decorative pieces from possibly its original paint I felt sort of bad taking them off.
 |  |
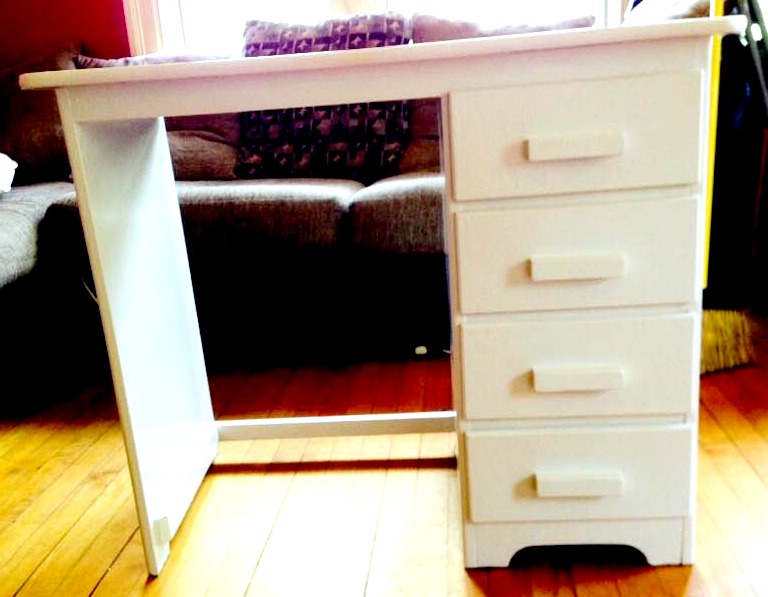
Next I put the first fresh coat on the desk. Just a thin coat. (No judgement. It's my first time painting furniture). I used ColorPlace paint, semi gloss for a nice shiny finish. A nice crisp white.
The finished first piece of the the desk. I'm a big fan of white. It's draws a lot of light to a room. In the finishing touches I used a popcorn effect for the top of the desk.
 |  |
Same process with the second piece.
Finally I used small nails to secure the headboard to the top and back of the desk.
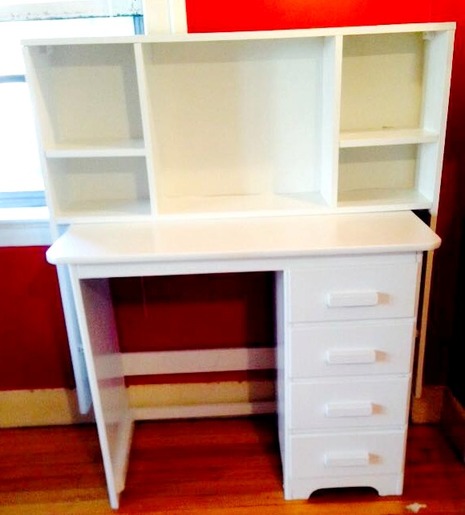
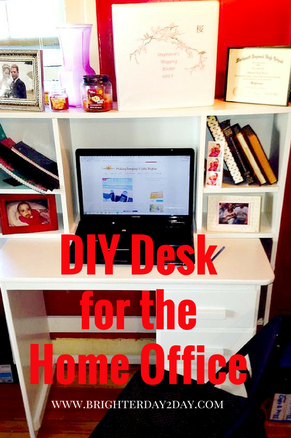
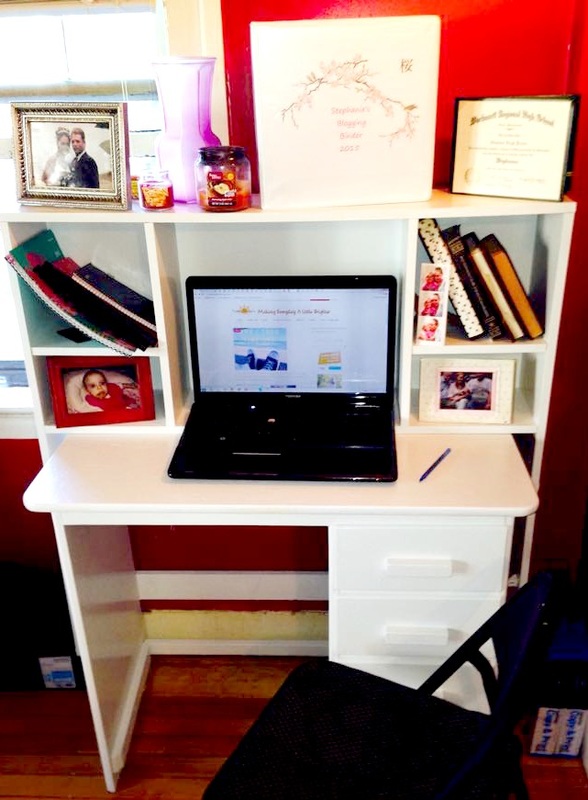
The final product all decorated with my favorite things and of course my laptop. I plan on putting baskets for more holders in the spaces on the sides where the two pieces don't connect. It was fun getting into the swing of it and was kind of therapeutic. Sounds cliche but it really was lol. Try it
Well there's my first DIY. Please let me know what you think so my next one is so much better :)
Related: Letter Splatter Paint


 RSS Feed
